Get started
Veem Partner Integration Documentation
Overview
Veem offers an innovative way to integrate our financial solutions into your platform. This document focuses on the Send Payment functionality, which can be integrated in two distinct ways:
- Embedded Solution: Use an iframe to embed Veem's Send Payment flow within your platform.
- Self-Hosted Solution: Redirect users to Veem’s hosted authorization flow for external access.
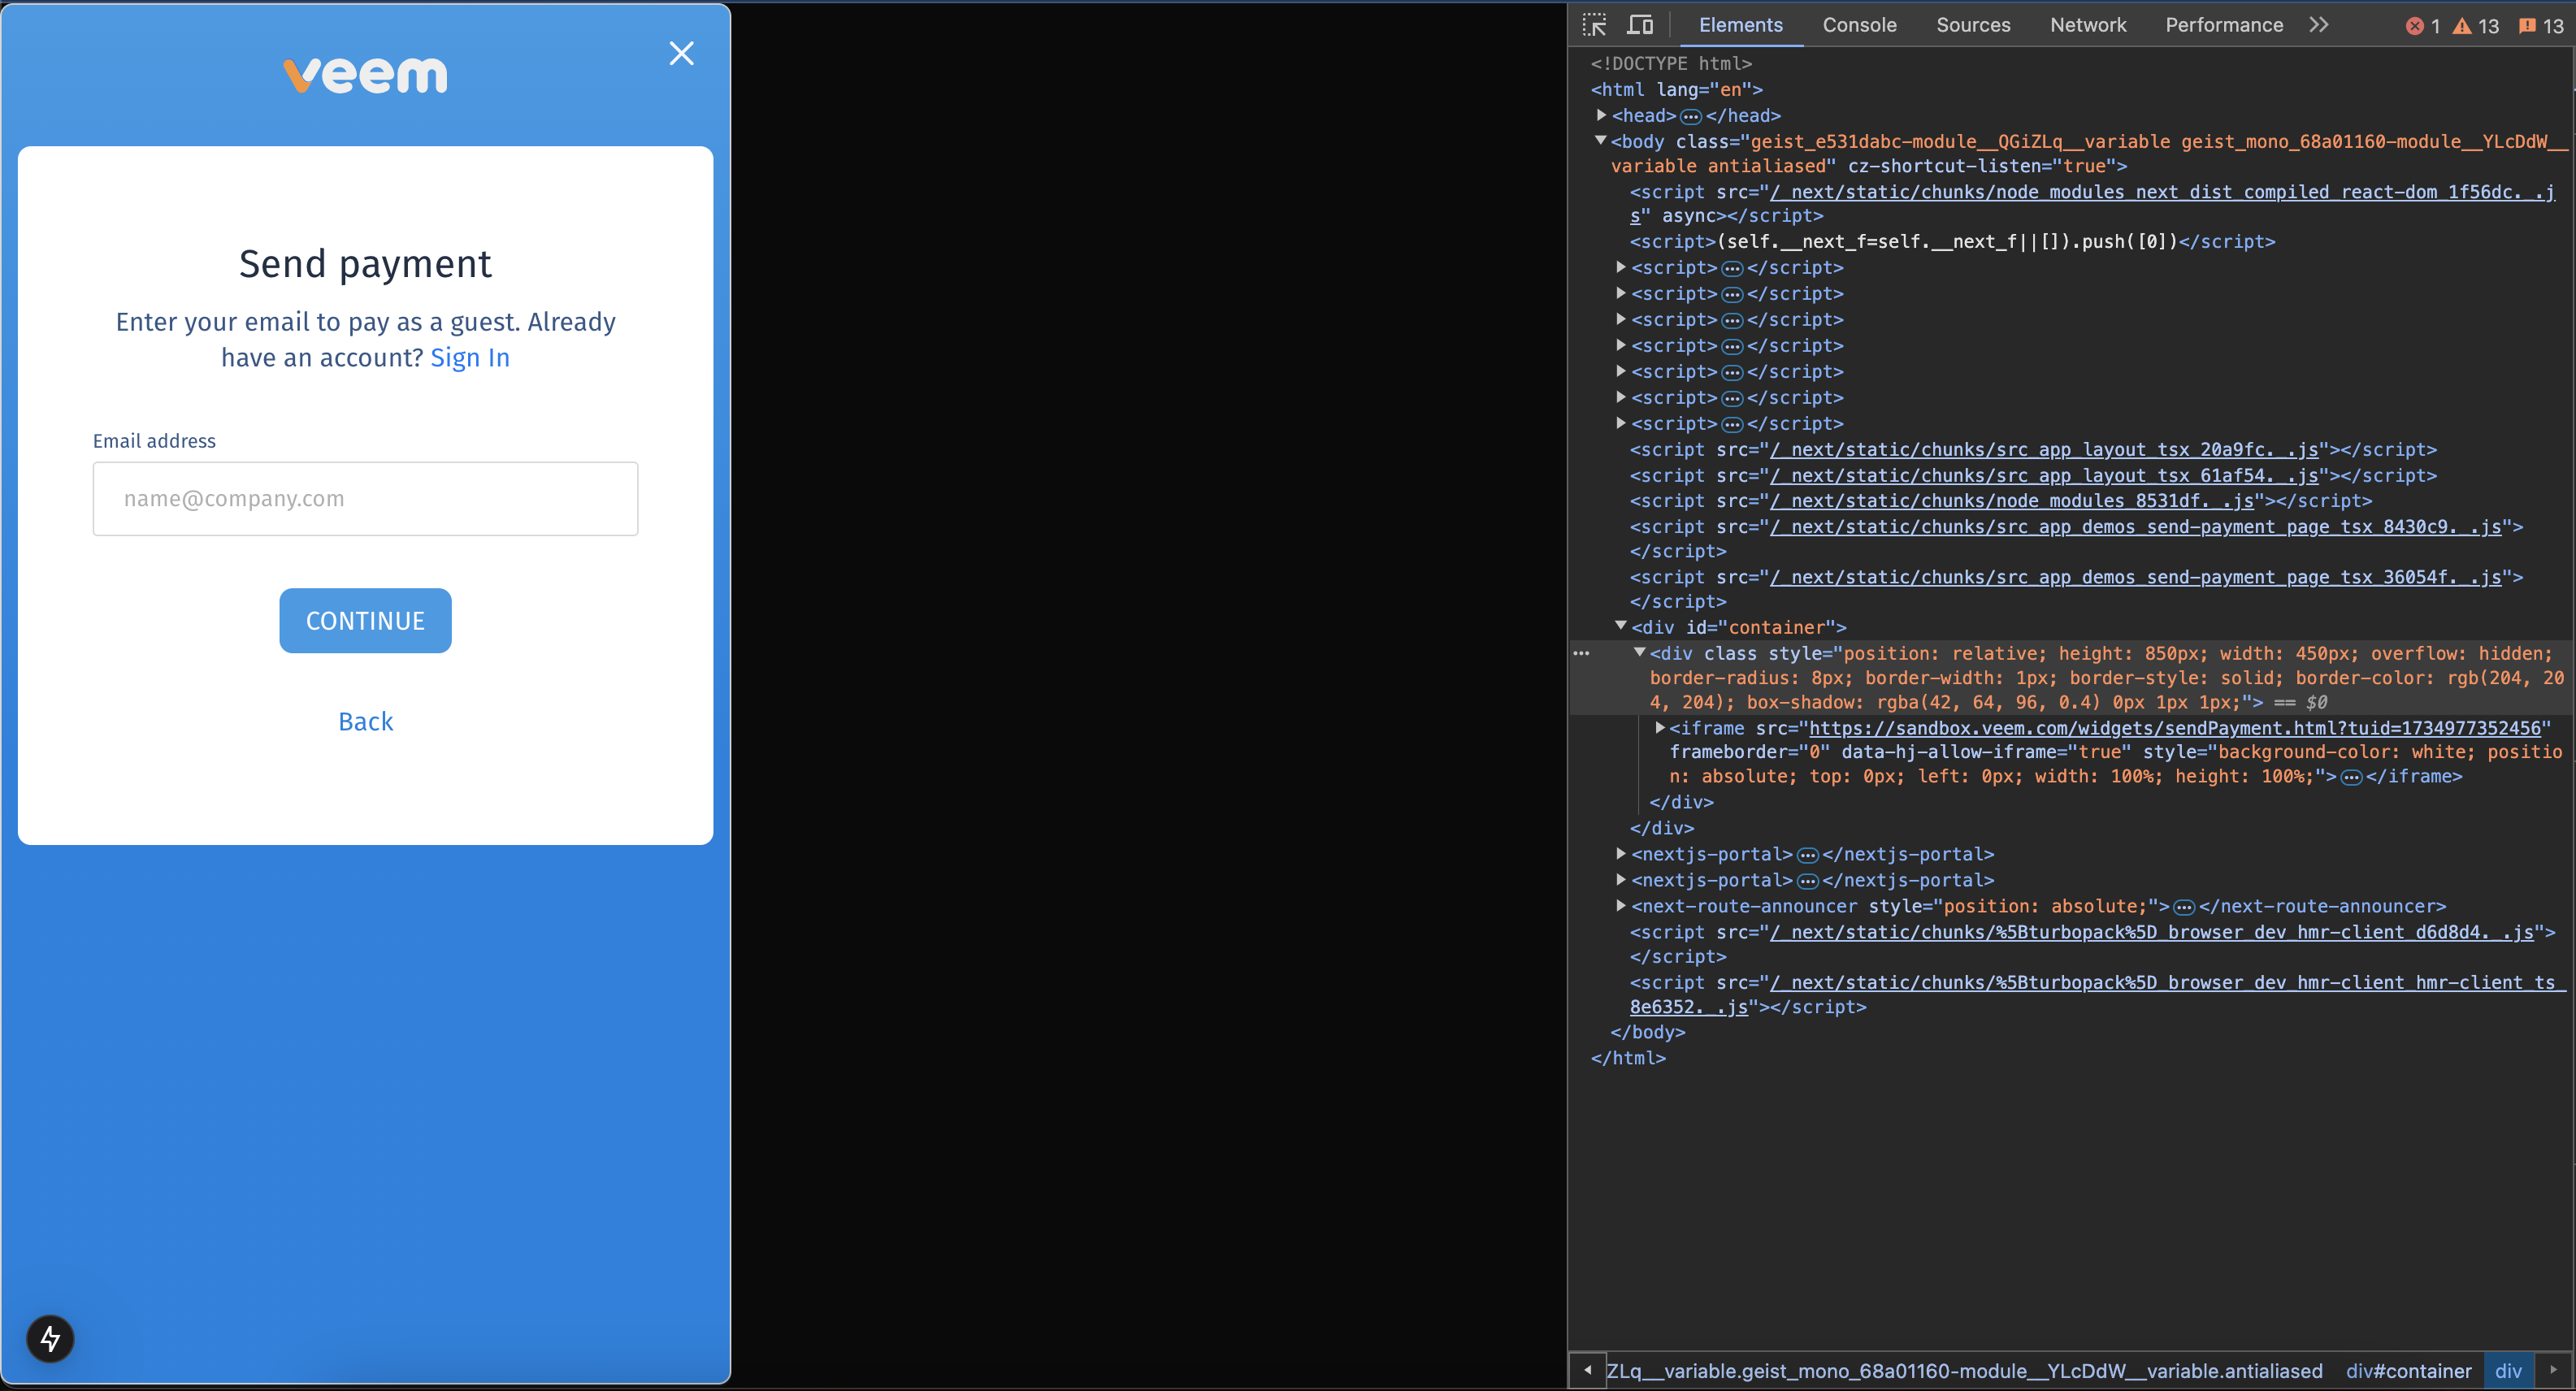
1. Send Payment via Embedded Solution
The embedded solution allows partners to seamlessly integrate the Send Payment flow into their platform using an iframe.
Code Snippet for Embedded Solution
Below is the code snippet to invoke the Send Payment flow using the Veem Web SDK:
import Veem from 'veem-web-sdk/umd/index.min';
import { useEffect } from "react";

export default function Page() {
    useEffect(() => {
        new Veem.WebSDK({
            name: "sendPayment",
            environment: "sandbox",
            target: '#container',
            width: '1000px',
            height: '1000px',
            onExit: () => window.alert('exit'),
            onComplete: ({ id }) => window.alert(id),
            preset: {
                accountId: 67744,
                referenceId: '44cbf675-a584-4fc6-b32f-29c2ed8c864e',
                payerAmount: 500,
                payerCurrencyCode: 'USD',
                payerBusinessCountryCode: 'US',
            },
        });
    }, []);

    return (
        <div id="container"/>
    );
}
How It Works
- Add the above code snippet to your application.
- Users will be authenticated and redirected to the Send Payment flow.
- The flow can be customized by partners to enable white-labeling.
2. Send Payment via Self-Hosted Solution
The self-hosted solution allows users to interact with Veem’s API independently by obtaining OAuth authorization.
Step 1: Initiate OAuth Access Call
To initiate the authorization flow, redirect users to the following URL:
URL Format
https://sandbox-api.veem.com/oauth/authorize?client_id=my-client-id&redirect_uri=http://my-domain/oauth/code_callback&response_type=code&presets={...}
Query Parameters
- client_id: Your Veem client ID.
- redirect_uri: The URL for the code callback (must match a registered URL).
- response_type: Always use the value
code.
Configurable Presets
Below are the customizable settings to modify the UI and behavior of the Veem application:
settings: {
    ui: {
        hideLeftMenu: false, // Disable left menu on the whole app
        hideTopMenu: true, // Disable top menu on the whole app
        hideMenuWalletSummary: true, // Disable left menu wallet
        hideMenuBusinessInfo: true, // Hide left menu avatar/name/logout
        hideAppPoweredByVeem: false, // Show 'Powered by Veem' bottom-right
        enableLightLeftMenu: true, // Enable light mode for left menu
        enableLightTopMenu: true, // Enable light mode for top menu
        appLocalizationDisabled: true, // Disable the translation box
        hideDashboardNotificationsBannerBoxGroup: true, // Minimize item cards on Dashboard
        hideDashboardOnboardingChecklist: true,
        hideDashboardPetitBannerGroup: true,
        hideDashboardAccountInformationBannerBoxGroup: true,
        hideDashboardMultiCurrencyBalance: true,
        hideDashboardActionCards: true,
    },
}
Benefits of the Self-Hosted Solution
- Users gain OAuth authorization to interact with Veem APIs on behalf of another user.
- Complete customization control for partners.
- Ideal for advanced integrations where embedding is not suitable.
Conclusion
Veem's integration options offer flexibility and scalability to suit your platform's needs. Whether through the embedded iframe solution or the self-hosted OAuth flow, you can leverage our financial tools to enhance your user experience.
For further assistance or questions, contact Veem Support at [email protected].
Updated 6 months ago