Sandbox Environment Quick Start
Quick start guide for partners using the Veem Sandbox environment.
Overview
This page serves as a quick-start guide for using the Veem Sandbox environment. It outlines the steps required to create a developer Sandbox account, set up a customer account, send test payments, access the API, understand payment statuses, utilize webhooks, and transition to a production environment.
This guide covers:
- Creation and setup of a developer Sandbox account
- Creation and configuration of customer accounts
- Accessing and using the Veem API
- Testing payment sending and receiving
- Understanding payment statuses
- Setting up and using webhooks for event notifications
- Transitioning from Sandbox to production
Process
To begin testing the Veem APIs using the Sandbox environment, follow these steps:
- Request access to the Sandbox environment.
- Create a developer account: Sign up for a developer account within the Sandbox.
- Create a customer account: Establish a customer account in the Sandbox environment.
- Obtain API credentials: Retrieve the necessary API credentials for access.
- Configure APIs: Set up the specific APIs required for your intended use case.
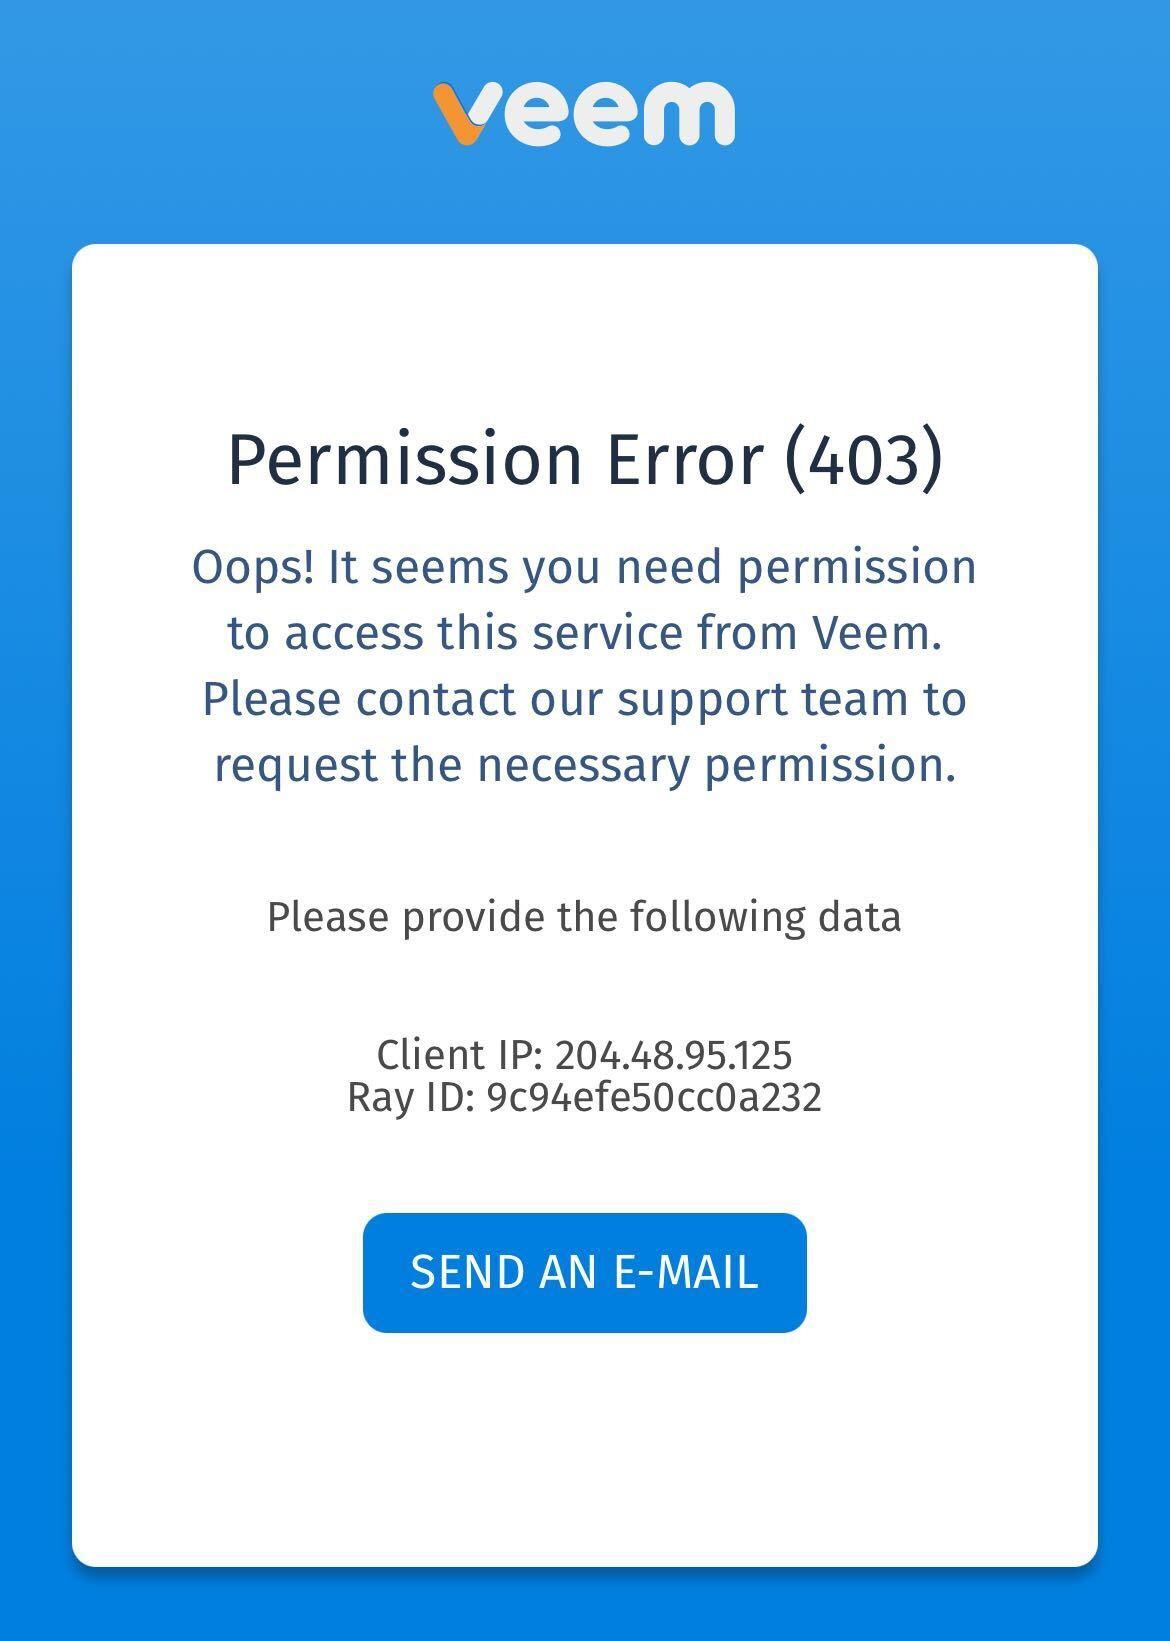
Request Access to Veem Sandbox Environment
Veem requires whitelisting IP addresses to gain access to the Sandbox environment. This security measure is in place to protect the Sandbox environment and user data from unauthorized access.
Visit https://sandbox.veem.com, and if the page displays a Permission Error (403), copy the Client IP and Ray ID and email both values to [email protected]. The Veem support team will then whitelist your credentials, enabling you to proceed with the signup process and fully access the Veem Sandbox.
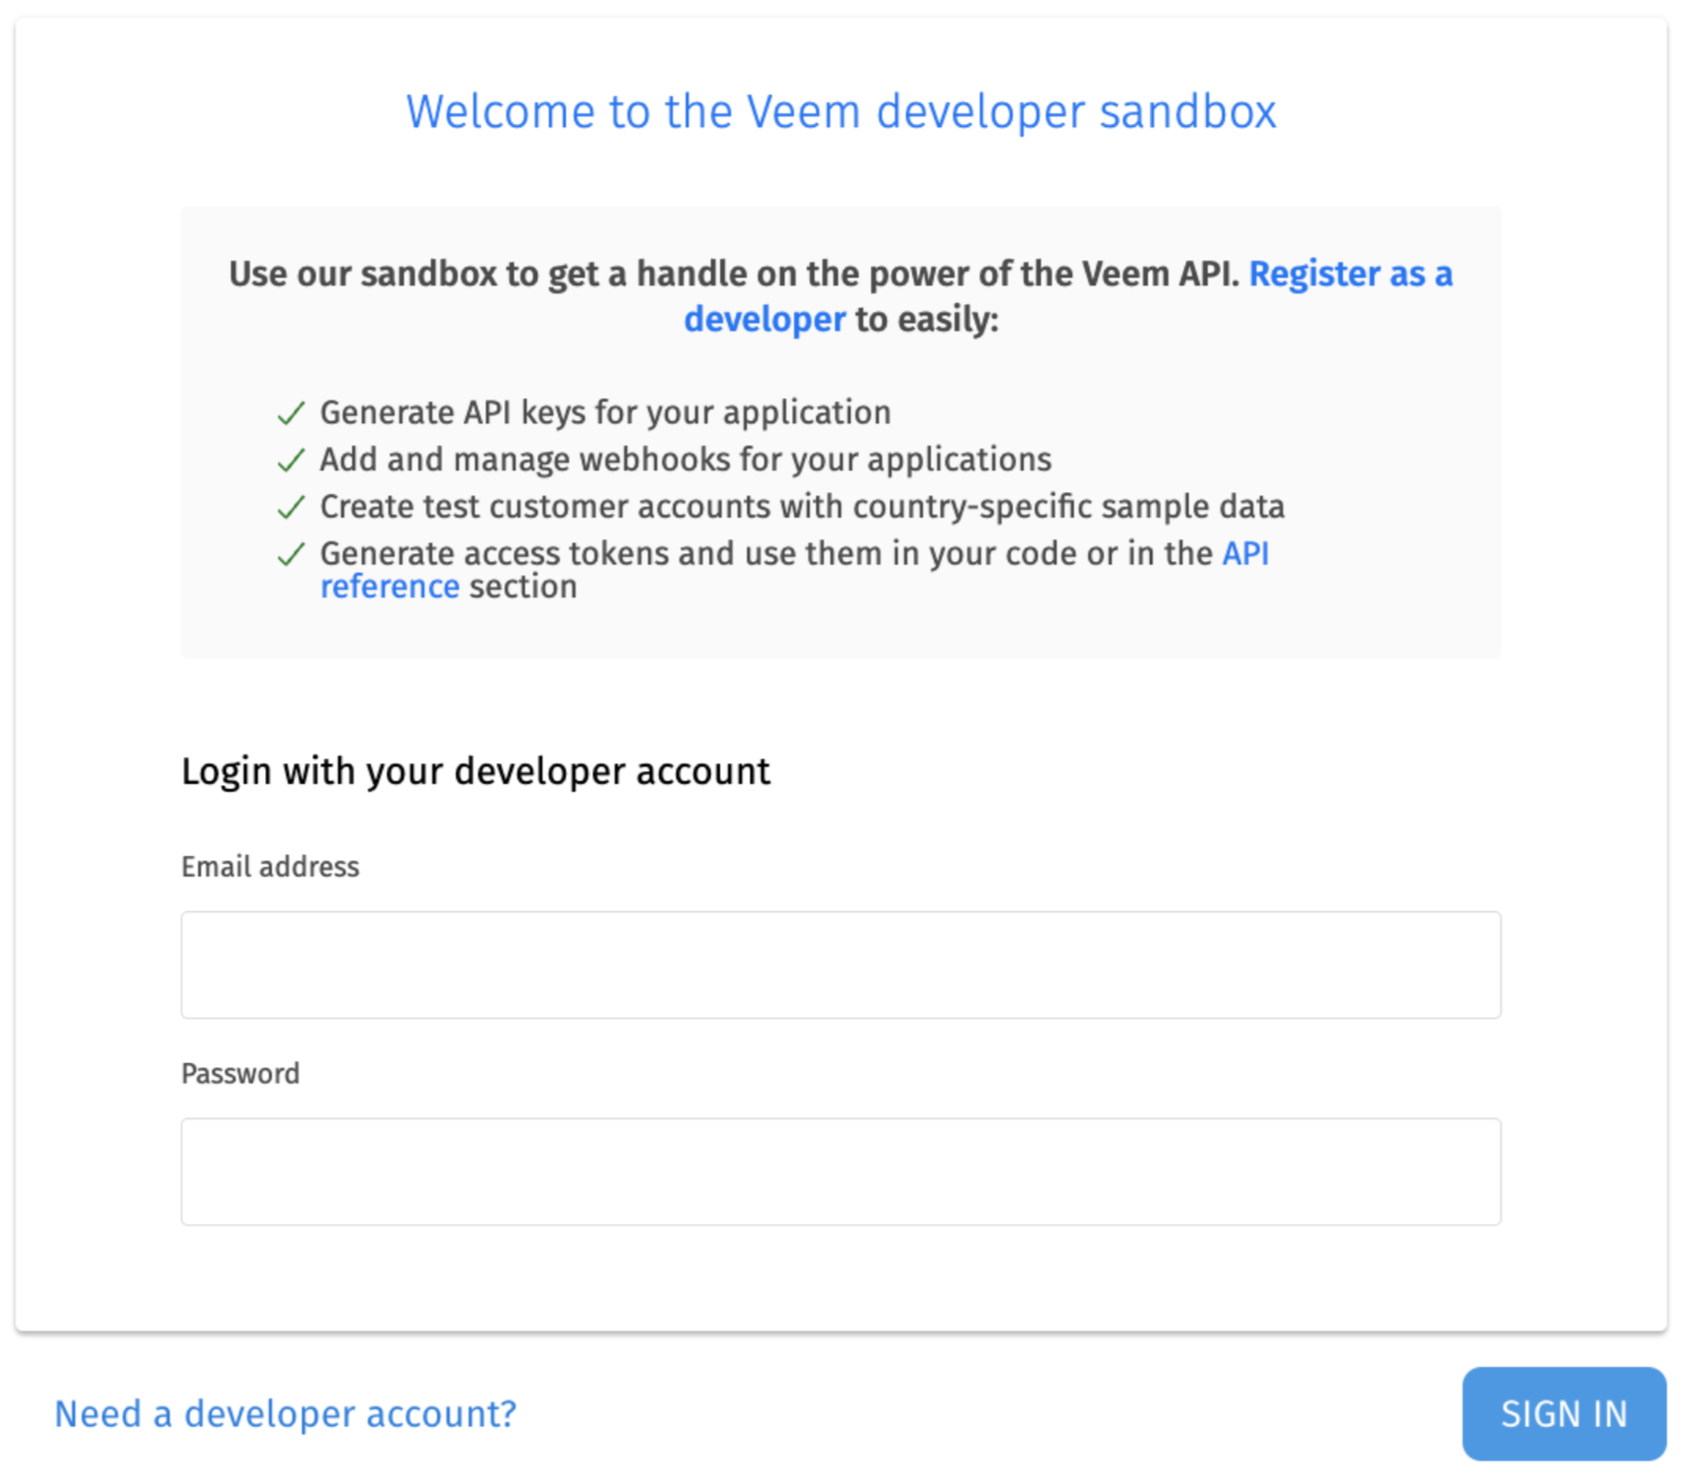
Create a Developer Sandbox Account
-
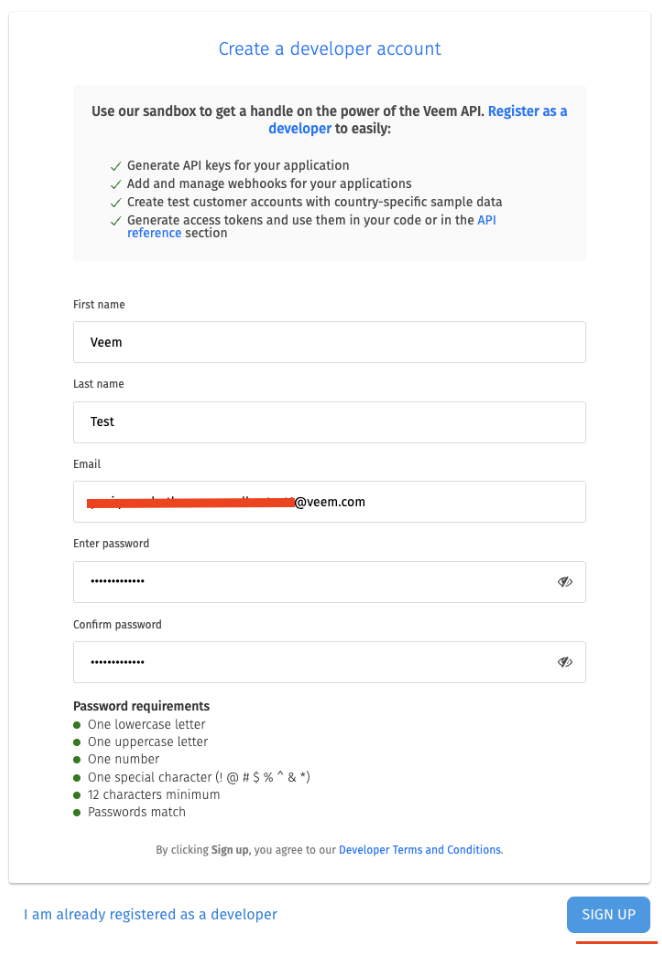
Navigate to the Sandbox Sign Up Page.
-
Fill in required fields and click Sign up. We recommend using a shared team email (for example, [email protected]) so your entire development team can access the same sandbox environment and any configurations we set up for your use case.
-
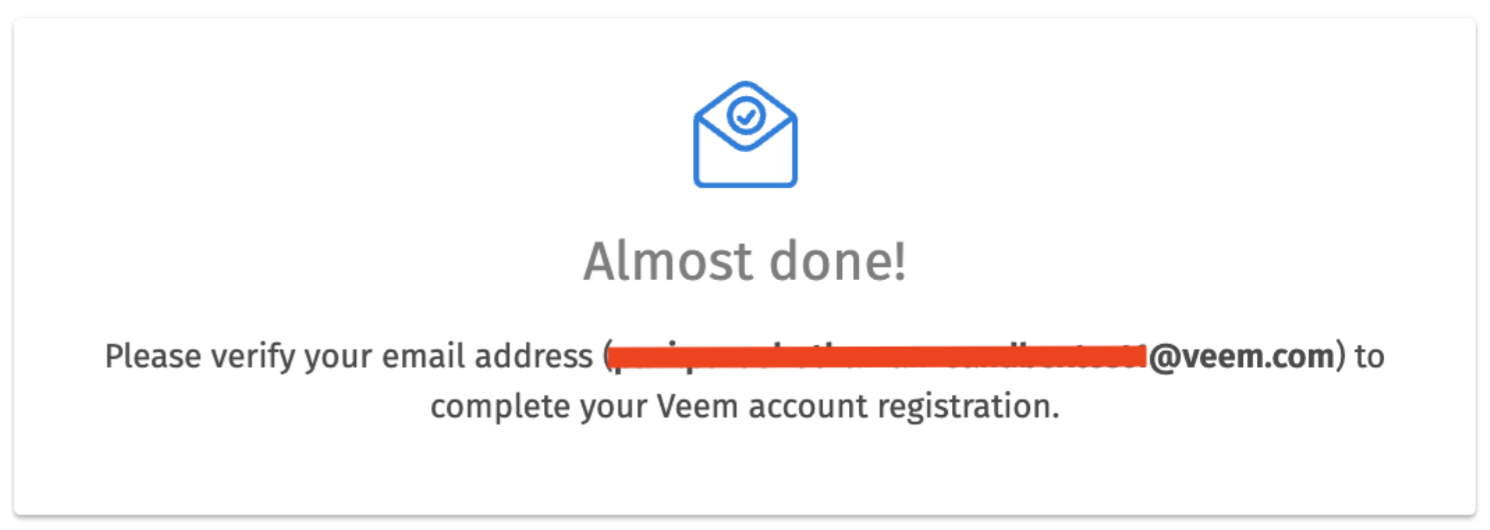
Verify your email address: Once you click on Sign up, the next page will ask you to verify your email address so that you can complete the registration. Please check your email and then follow the next steps:
-
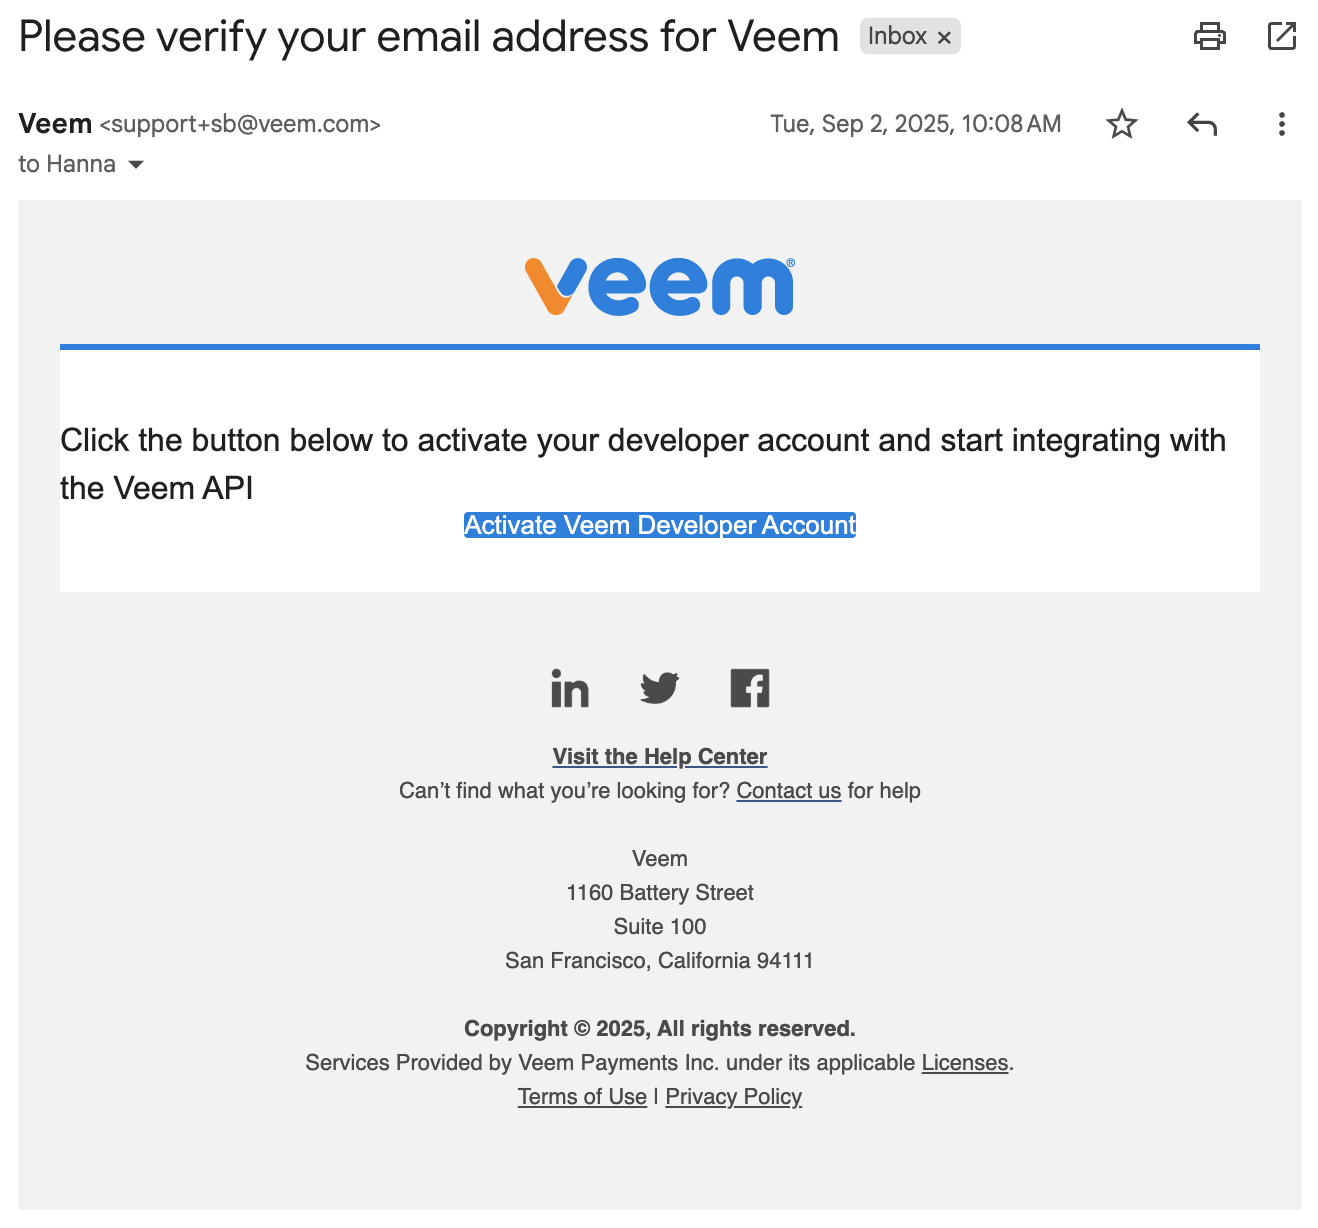
Activate your developer account from the email you receive. Click on Activate Veem Developer Account to continue with the Setup.
- Sign in with your credentials: You will then be redirected to the login Page where you will enter your email address and password in Step 1 and sign in.
-
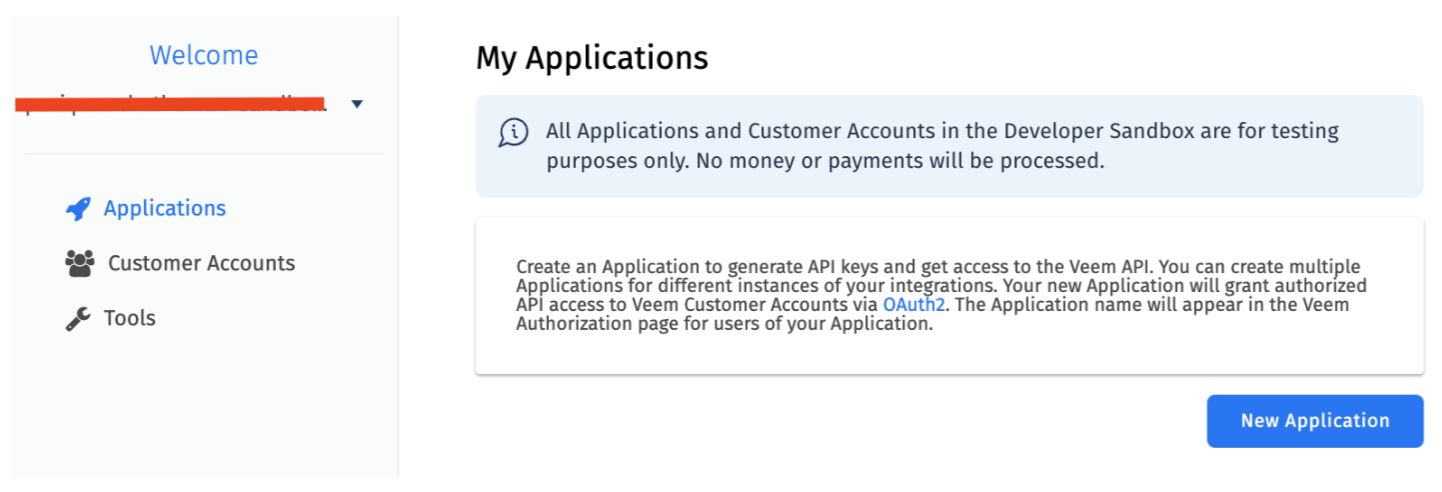
Once signed in, you would be brought to the page below, where you have the option to Create a New Application, Create a Customer Account, and tools where you can see how to Test Webhooks, Set up Test Mode, and get an OAuth Access Token.
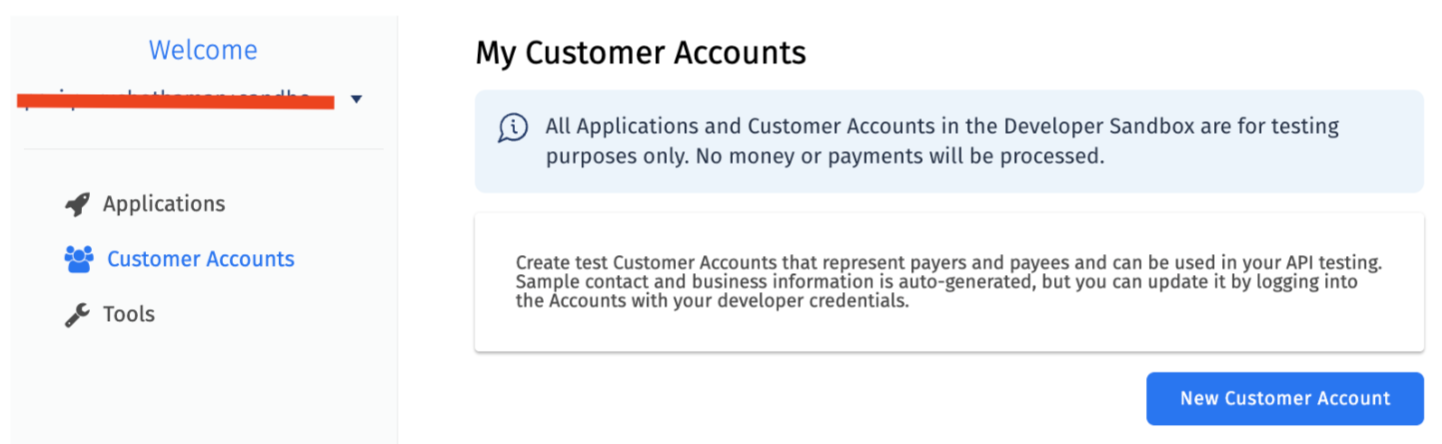
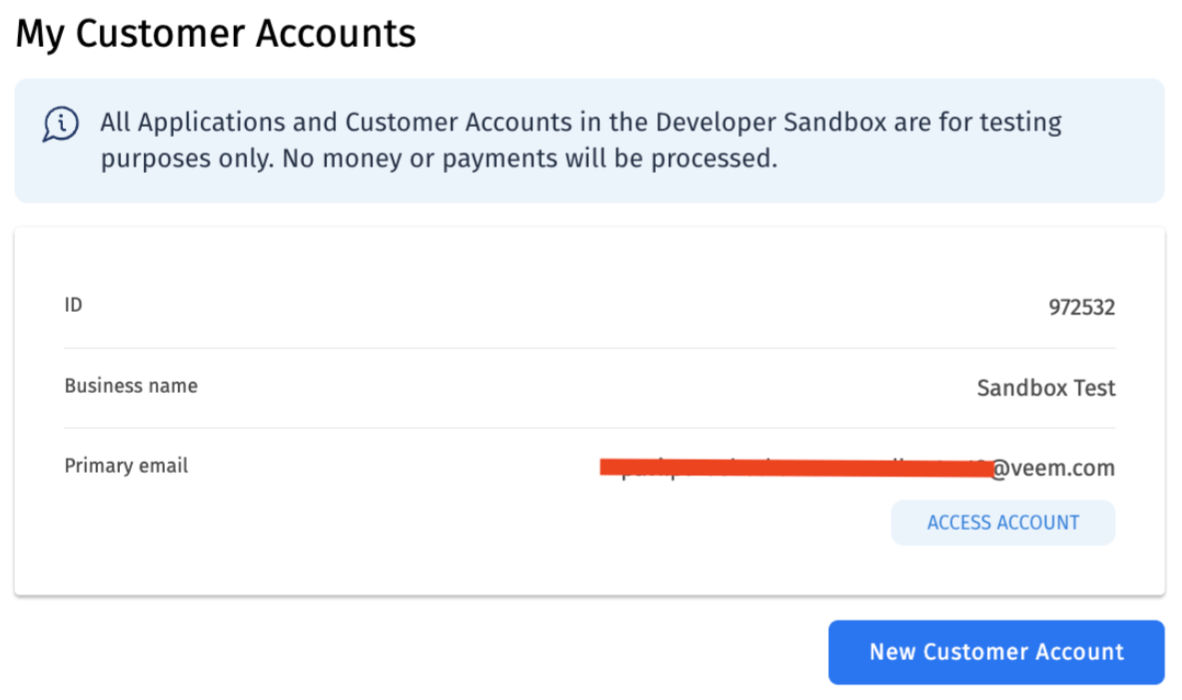
Create a Customer Account
-
From the dashboard, click Customer Accounts, then click New Customer Account.
-
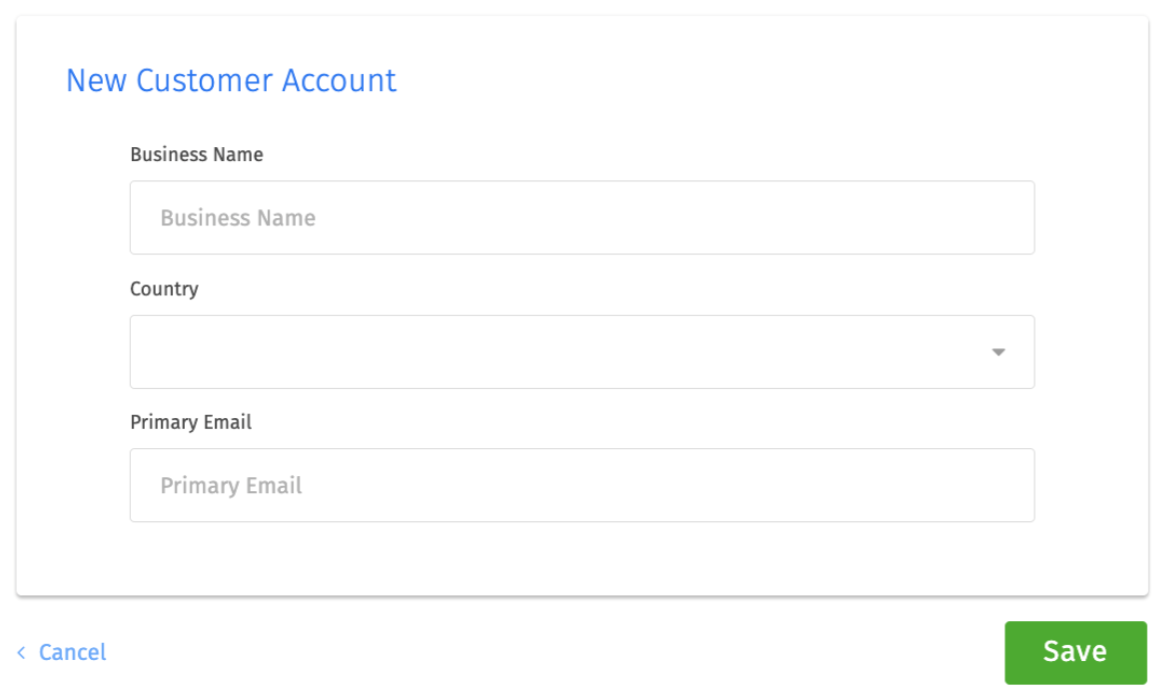
Enter business name, country, and primary email. Note: Use the same email as your Sandbox developer account.
-
Save the account and note the generated Account ID.
-
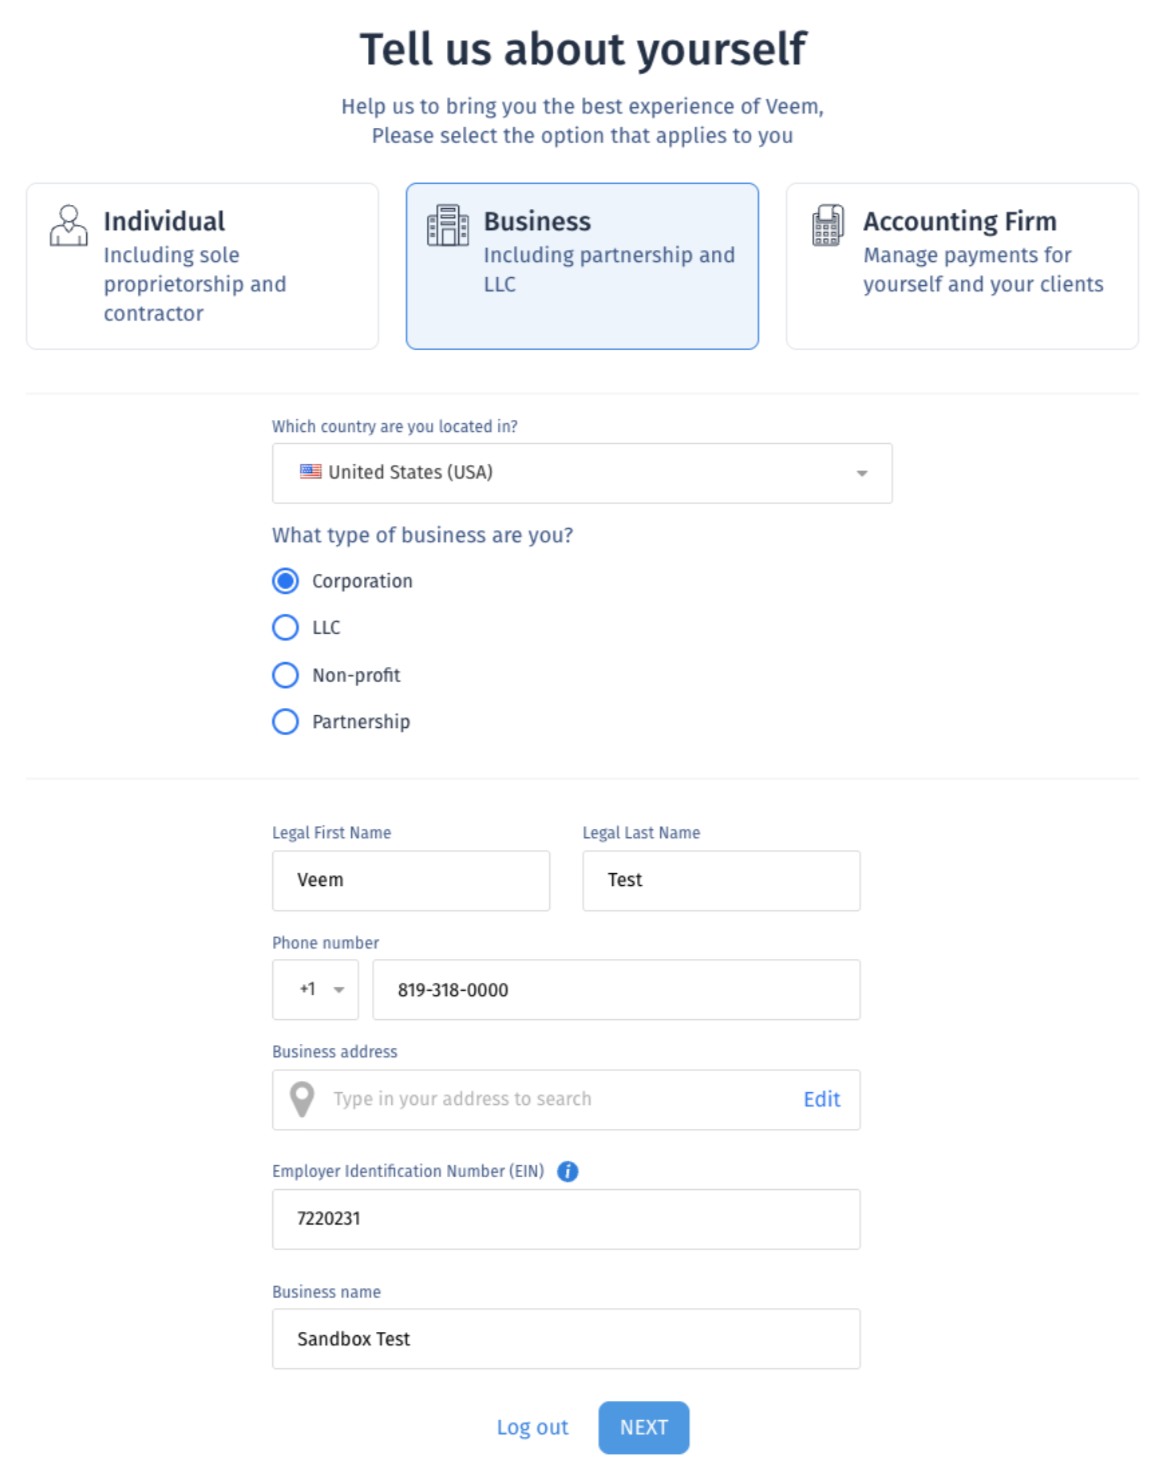
Click Access Account to complete onboarding. Clicking on Access Account will take you to the onboarding flow, where you will be asked to complete the account Setup. Please fill in all the requested information and complete the setup. Usually, the name, number, and EIN get pre-filled already, and there is validation to ensure the formatting is correct.
-
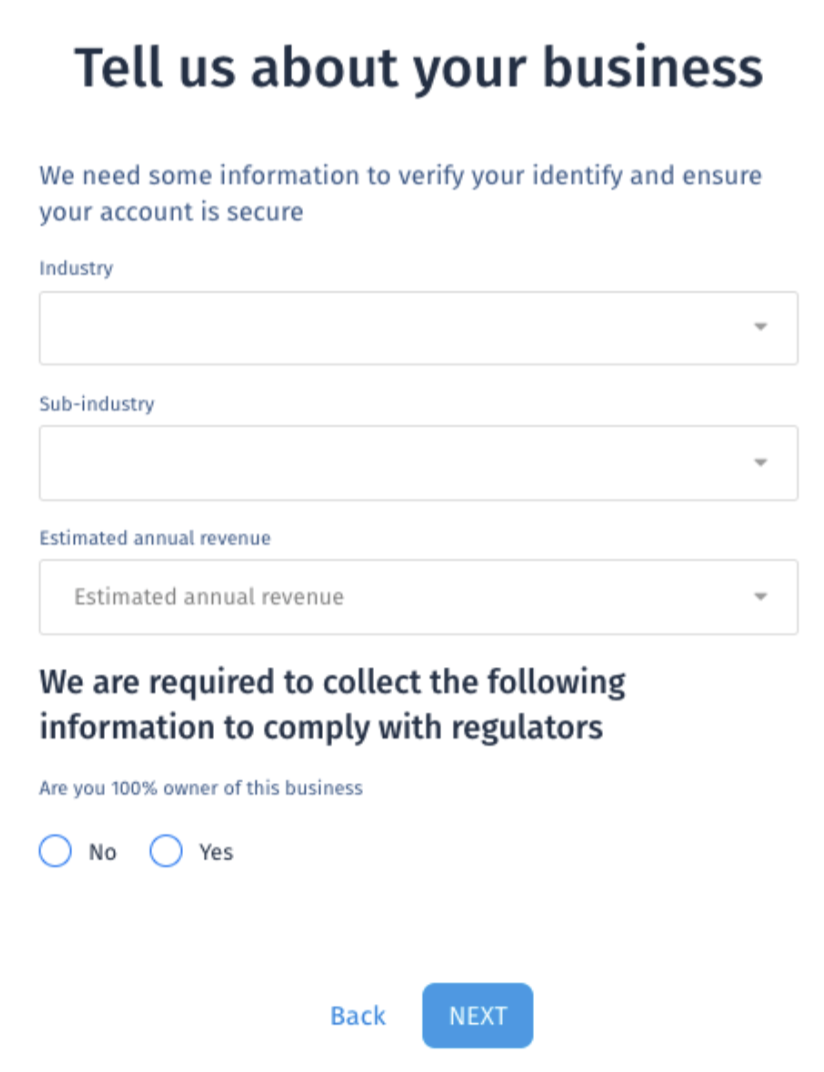
Fill in business details, industry, ownership, and revenue information. Test values are acceptable.
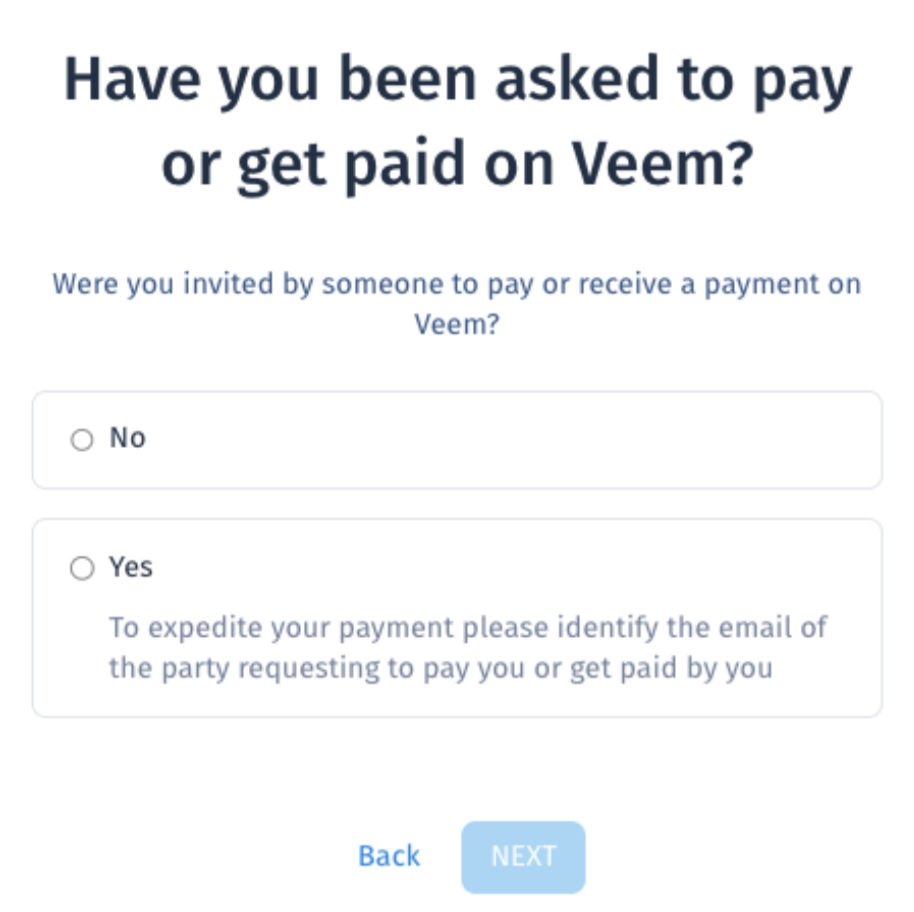
- Select invitation status and platform fee option.
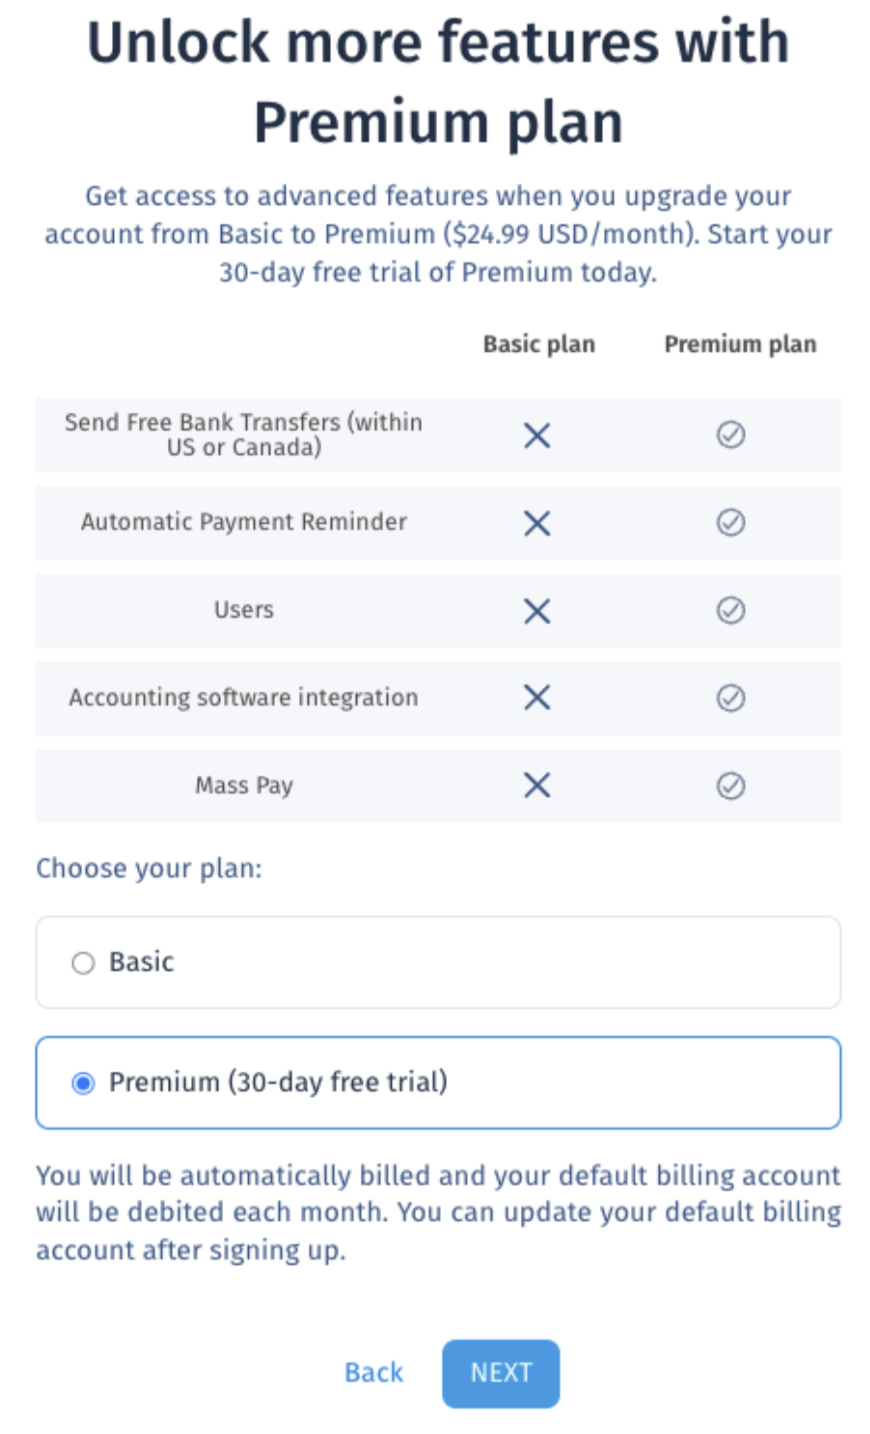
- Finish onboarding to reach the dashboard.
Notes:
- We do not ask to enter any banking details during onboarding in Sandbox environment, as this information gets added automatically.
- All Sandbox accounts are also pre-verified (Completed KYC) on our backend, so that while testing, everything moves smoothly.
Get API Credentials
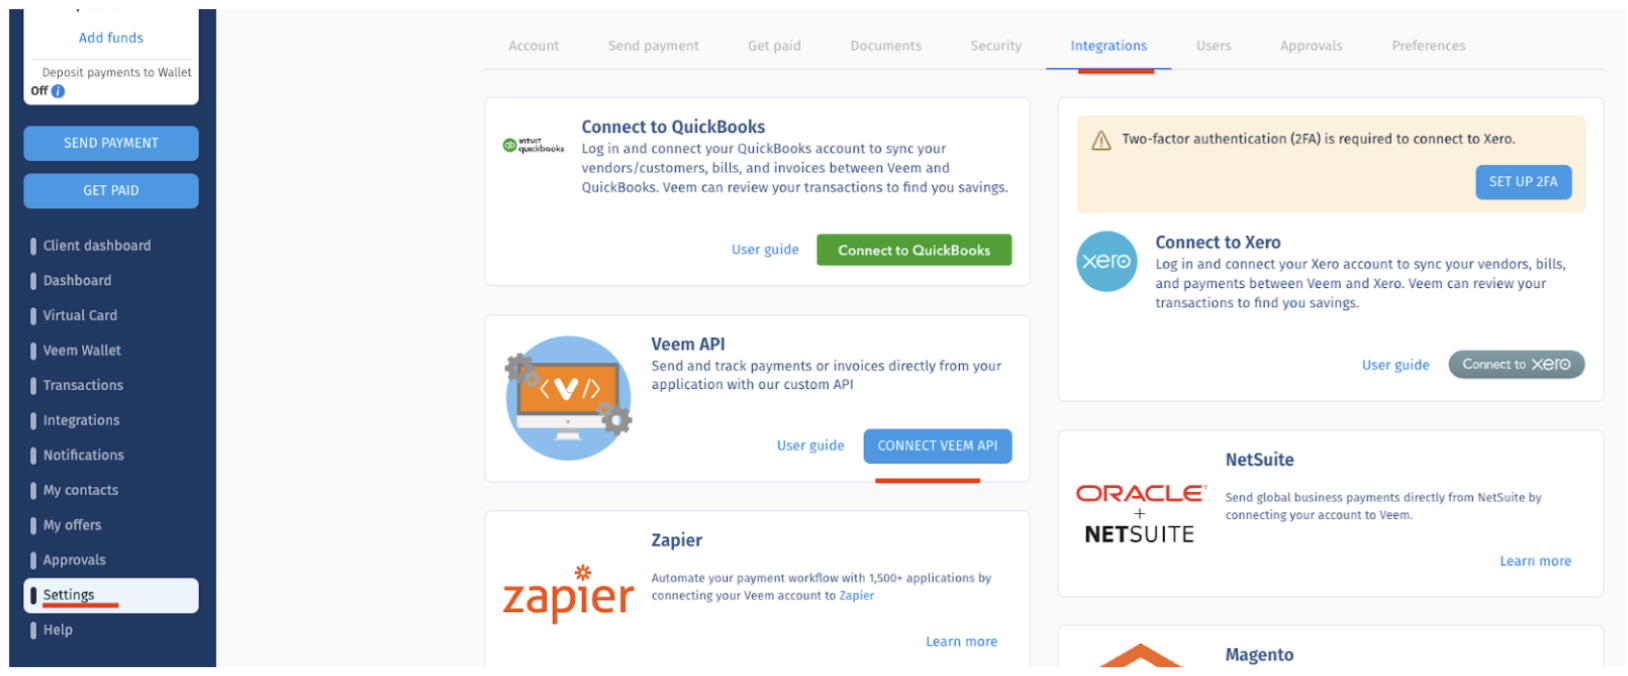
- Go to Settings > Integrations > Connect Veem API.
- Click Generate to create a Client ID and Client Secret.
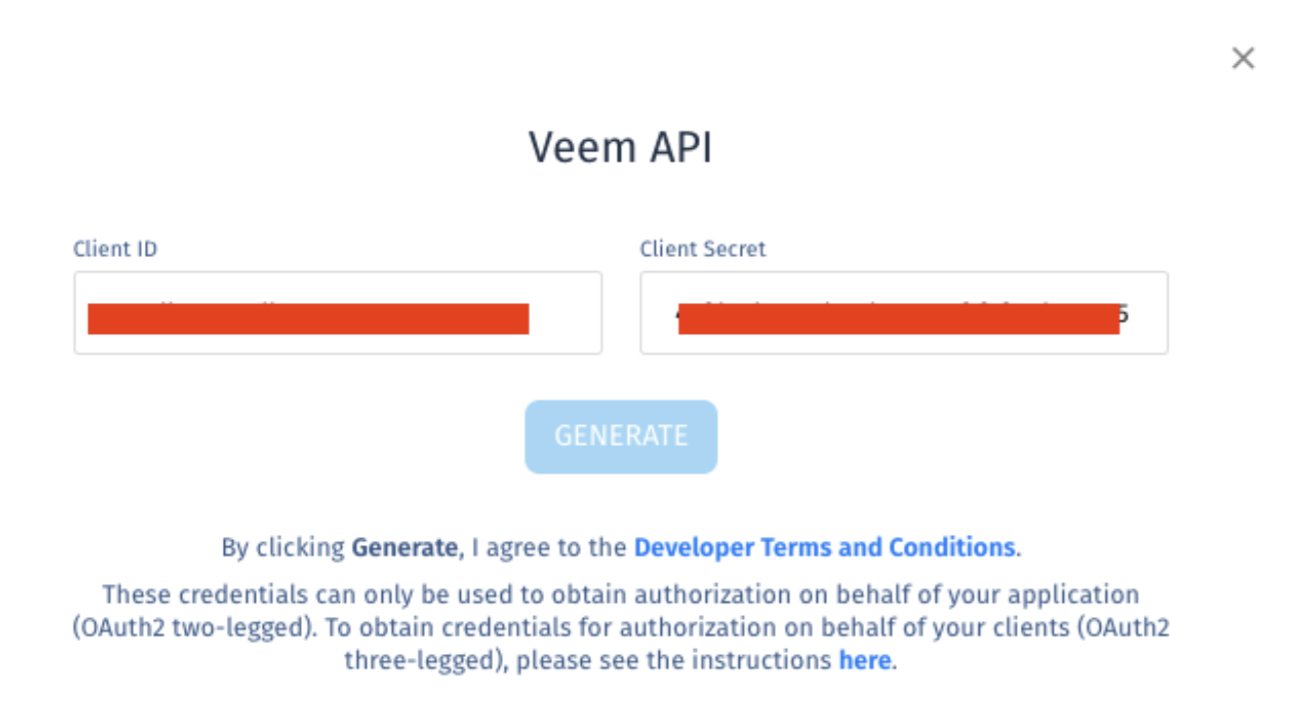
The client ID and Client Secret enable the following functionality via Veem Public API:
- Sending payments
- Creating accounts
- Claiming invoices
- Adding funding methods
- Applying for Virtual Bank Account
- and more
See full API documentation: https://developer.veem.com/docs/intro-to-veem-api
To speed up integration you can also use the Veem Public API Postman Collection.
The API in Sandbox uses https://sandbox-api.veem.com base URL.
Simulate Payment Processing
Once the API is connected and a payment is posted using the API (e.g. Send Money or Send Money - Claimless), you can simulate the payment movement in the Sandbox account. Make sure you have “Test Mode” enabled, which can be found under the Transactions page.
- Enable Test Mode from the Transactions page.
- Use the ellipsis menu to move payments through different statuses.

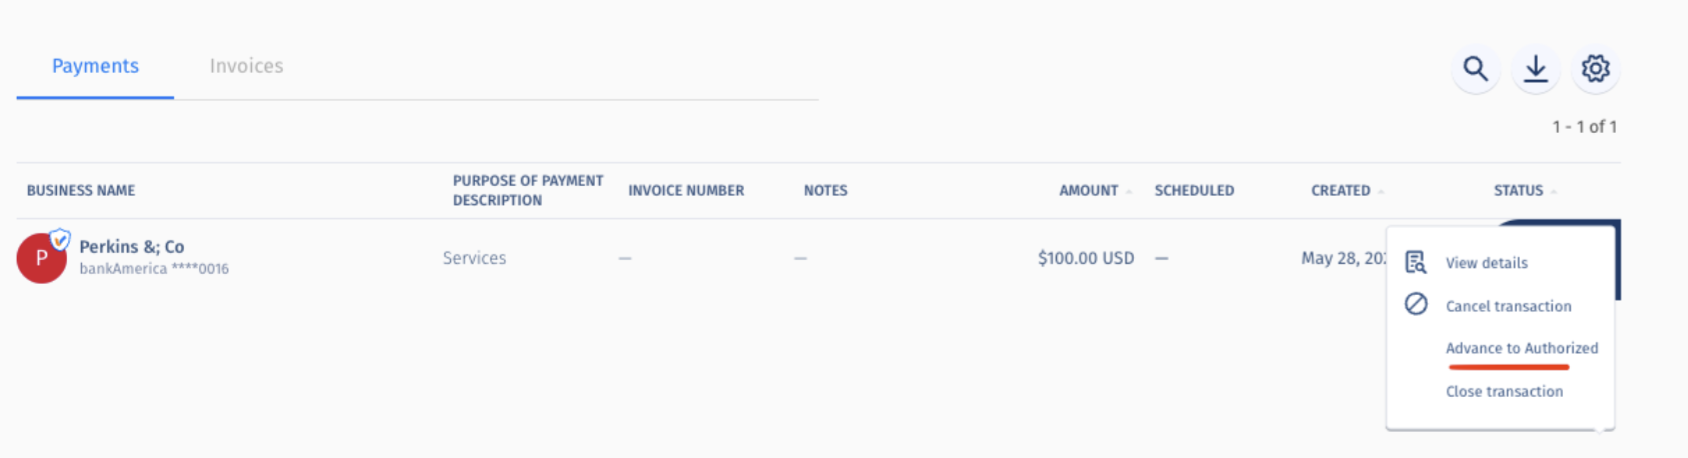
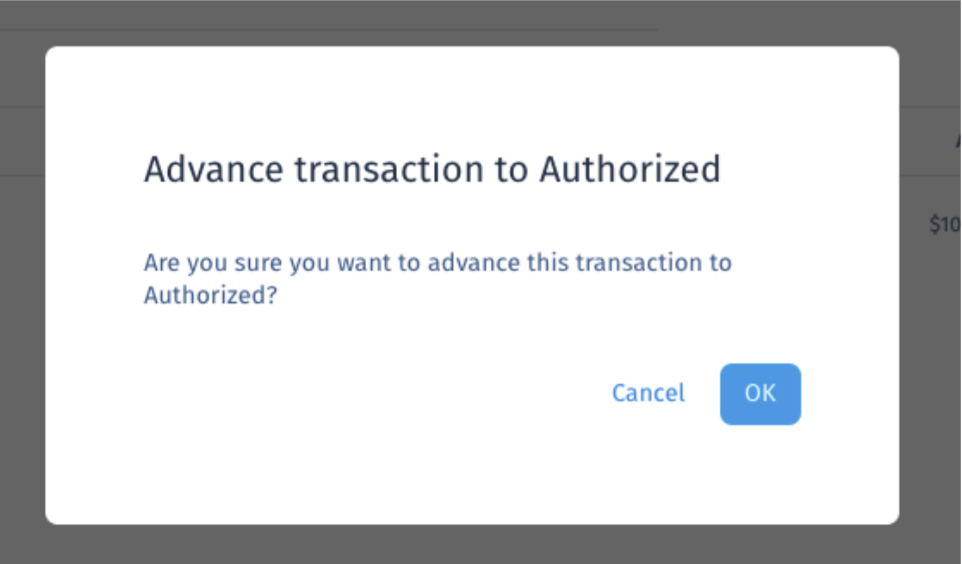
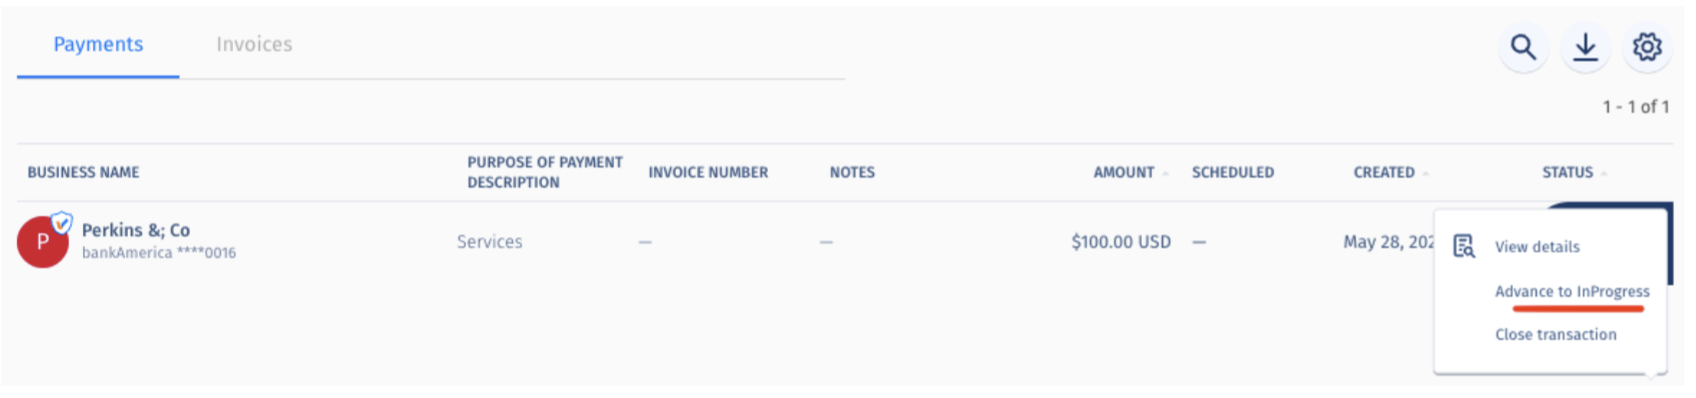
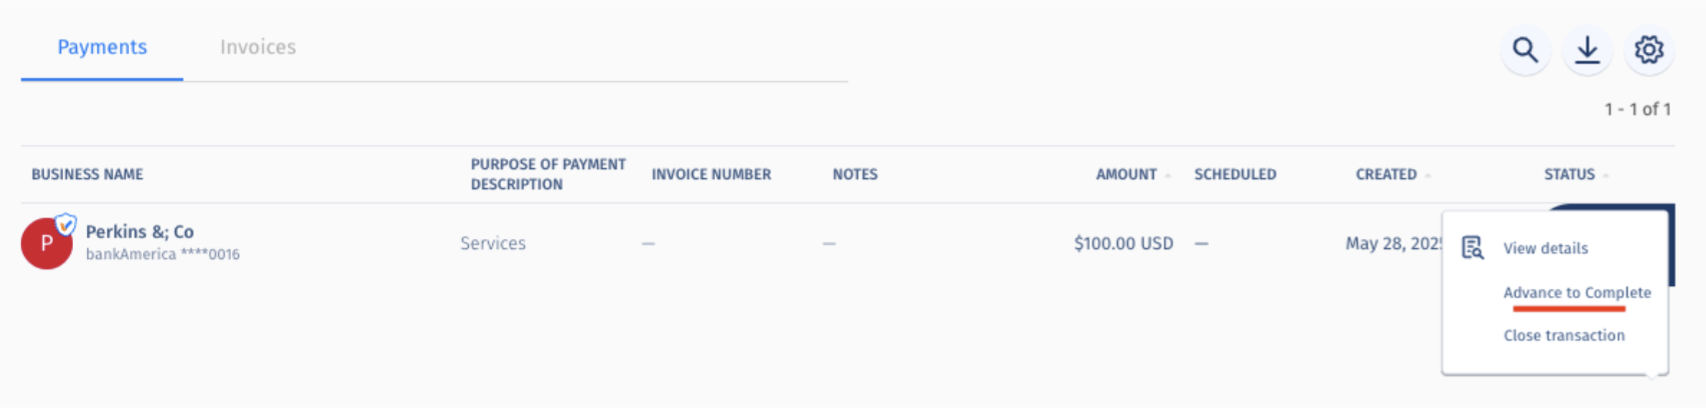
These transitions can be used for testing payment status webhook notifications.
Payment Statuses
Once the payment is sent, developers can retrieve the payment to check its status using Get Payment Status API.
Refer to the Payment Statuses section for a detailed description of possible status transitions.
Webhooks
If you are looking to use a webhook which includes a specific redirection URL, we will need the following details to be sent to [email protected]:
- Primary developer first name
- Primary developer last name
- Primary developer email
- Application display name (appears on our OAuth page)
- Comma-separated list of redirection URLs
- Comma-separated list of callback URLs (optional and only needed if callbacks setup is needed)
Veem will assist with the setup once details are received.
Connecting to Production
- Log in to production environment: https://apps.veem.com/CustomerApp/o/signin
- Navigate to Settings > Integrations > Connect Veem API.
- Generate production Client ID and Client Secret.
- Use OAuth two-legged authentication.
Note:
- Only the primary account owner can view production credentials.
Sandbox Shared Testing Accounts
To send a payment or an invoice to an existing account in different countries, use one of the following accounts. These are shared across our developer community so please do not change any data in settings.
Payer/Sender
[email protected]
[email protected]
Payee/Receiver
[email protected]
[email protected]
[email protected]
Use the following common password for all.
Developer1!
Updated 4 months ago